In today's digital landscape, businesses handle increasingly large amounts of data from various sources and multiple customers. Multitenancy emerges as a crucial architectural pattern, allowing a single software instance to serve multiple tenants, each with its distinct data and configuration. This article explores multitenancy, its importance, and its implementation in backend development with a practical example.
Understanding multitenancy.
Multitenancy is a software architecture where a single application instance serves multiple customers or tenants. Each tenant operates in a virtually isolated environment, accessing their customized application version, data, and configurations. This setup enhances resource utilization, simplifies maintenance, and ensures scalability.
We frequently interact with multitenant systems without realizing it. Examples include:
- Whitelabel Applications: These applications have different data sets, styles, and configurations for each customer.
- Operating Systems: The primary function of an OS is to manage resources shared by multiple processes, each handling its own data, memory, and permissions.
- Cloud Computing: Like an OS, cloud computing servers host multiple applications with their own resources, requiring efficient management.
Implementing a multitenant system.
These definitions sound great but might seem abstract. Let's implement a multitenant system step by step.
Generally, we can divide the implementation into the following steps:
1. Define the tenants.
2. Determine the “current tenant.”
3. Identify the models that require multitenancy.
4. Filter the data by tenant.
We'll follow these steps using a white label application example, a common use case in web development. While your application may have different requirements, the general principles will remain applicable.
Practical Example.
Consider a white-label application that allows users to enroll in university courses. Each university has its own set of courses, custom subdomains, and stylesheets. Given the competitive nature of universities, it's crucial to keep their data separate. For example, a course from University A should never appear on University B's domain.
We'll implement this example using Ruby on Rails. If you're unfamiliar with the language, don't worry; understanding the overall concept is more important than the specific syntax.
Step 1: Define the tenants.
This step is straightforward and depends on your business logic. In our example, the business revolves around universities, the courses they offer, and the enrollments to those courses. Therefore, our tenants are the universities.
Step 2: Determine the current tenant.
Knowing the current tenant in any multitenant system is essential, as it dictates the data available at any given time. This process will also depend heavily on your business logic but is relatively simple in our example.
Each university has its subdomain. For instance, University 1 might be hosted under university1.myapp.com. Therefore, any request from university1.myapp.com indicates that University 1 is the current tenant.
Next, we need to store this information for use in subsequent steps. We can create middleware to extract the domain from an incoming request, identify the associated university, and store it in a global variable.
By following these steps, you can efficiently implement a multitenant system tailored to your application's unique requirements. This approach ensures data integrity, resource optimization, and seamless scalability, vital in today's dynamic digital environment.
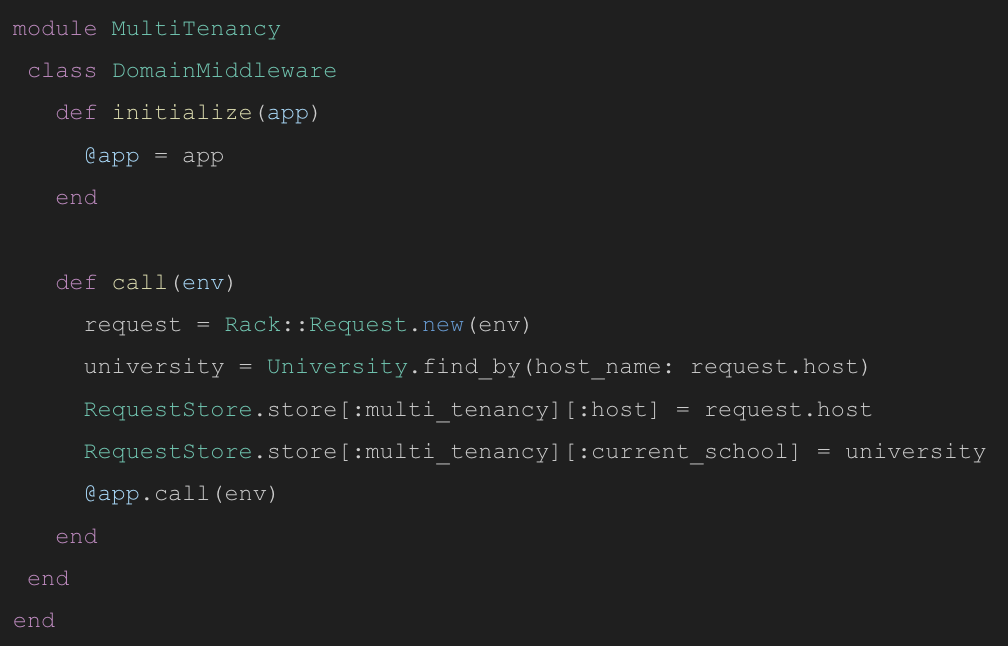
Then, we ensure this middleware is being called for all incoming requests:

Step 3: Determine the models that require multitenancy
Whatever multitenancy solution you decide to implement, it is going to mean added logic to your system and a hit in performance. This means we only want to use multitenancy when it is needed. So, let’s determine which models in our system will require it.
Going back to the example, let’s say we have the following models:
Determining which models should have multitenancy
To effectively implement multitenancy, it's crucial to identify which models need to support this architecture. Since our tenants are universities, all models directly or indirectly related to a university should have multitenancy. Here's a breakdown of the models that will and will not have multitenancy:
Models with multitenancy
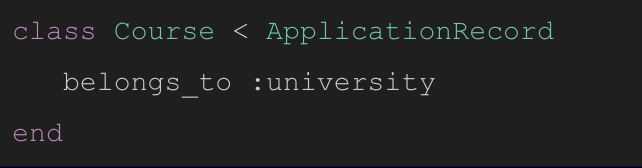
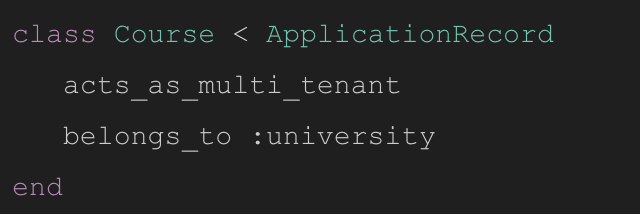
1. Course: This model has a direct `belongs_to` association with the University model.
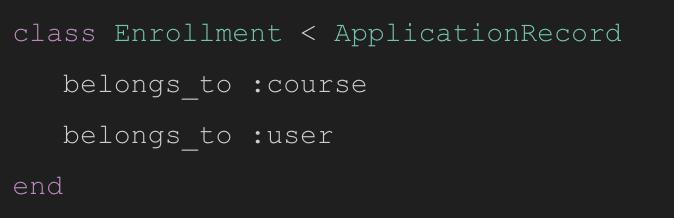
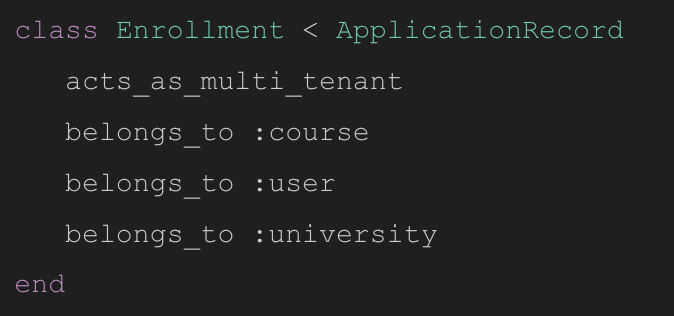
2. Enrollment: This model belongs to a Course, which in turn belongs to a University.
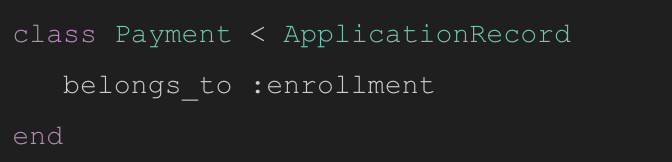
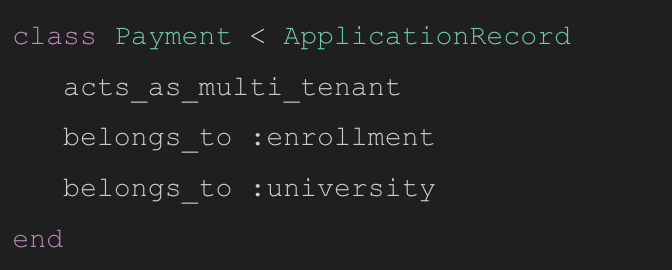
3. Payment: This model belongs to an Enrollment, which belongs to a Course, which belongs to a University.
Models without multitenancy
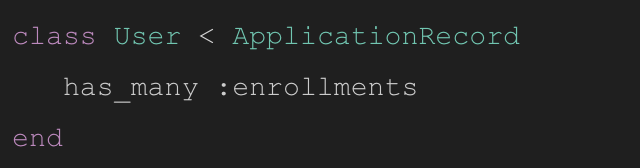
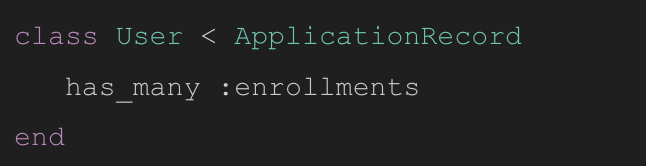
User: Although the User model has an association with Enrollment, it is a `has_many` association rather than a `belongs_to`. This means a User can be linked with multiple universities, and thus, it does not require multitenancy.
Filtering data by tenant
With tenants and their associated data defined, the next step is to implement the multitenancy solution. Consistency is key, and placing all logic at the highest level ensures scalability and maintainability. Our main objective is to prevent data from one university from being displayed on pages belonging to another university.
Steps to implement multitenancy
1. Implement a Global Scope in the ORM: By doing this, all current and future database requests will be automatically filtered. This ensures that multitenancy is consistently applied, even in new features.
2. Add Direct Associations: Establish a direct association between the university model and all models with multitenancy. While this approach slightly breaks database normalization, it significantly improves the performance of the global scope.
By following these steps, you can ensure a robust multi-tenancy implementation that maintains data integrity and optimizes performance, essential for handling multiple tenants in a scalable manner.
So, here’s the global scope:
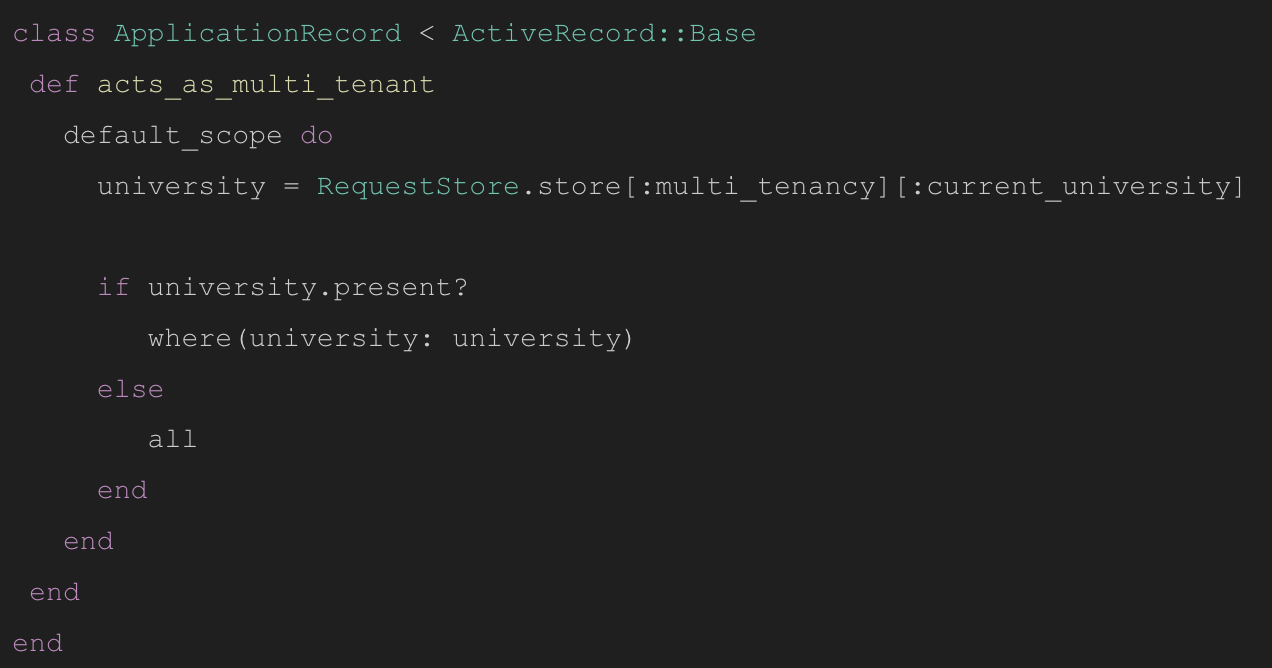
Notice how we used the global variable defined in Step 2.
Now we only need to update the models with the new scope and the university association:
Notice how the User remained unchanged because, in Step 3, we determined it didn’t need multitenancy.
And that’s it! With that, our multitenacy system should be in place!
Results
This looks great, but what exactly did we accomplish? With this system, the queries to the DB return different results depending on the context. This works for all queries, present and future, and with minimal impact on the performance.
In this table, we show some results from implementing this:
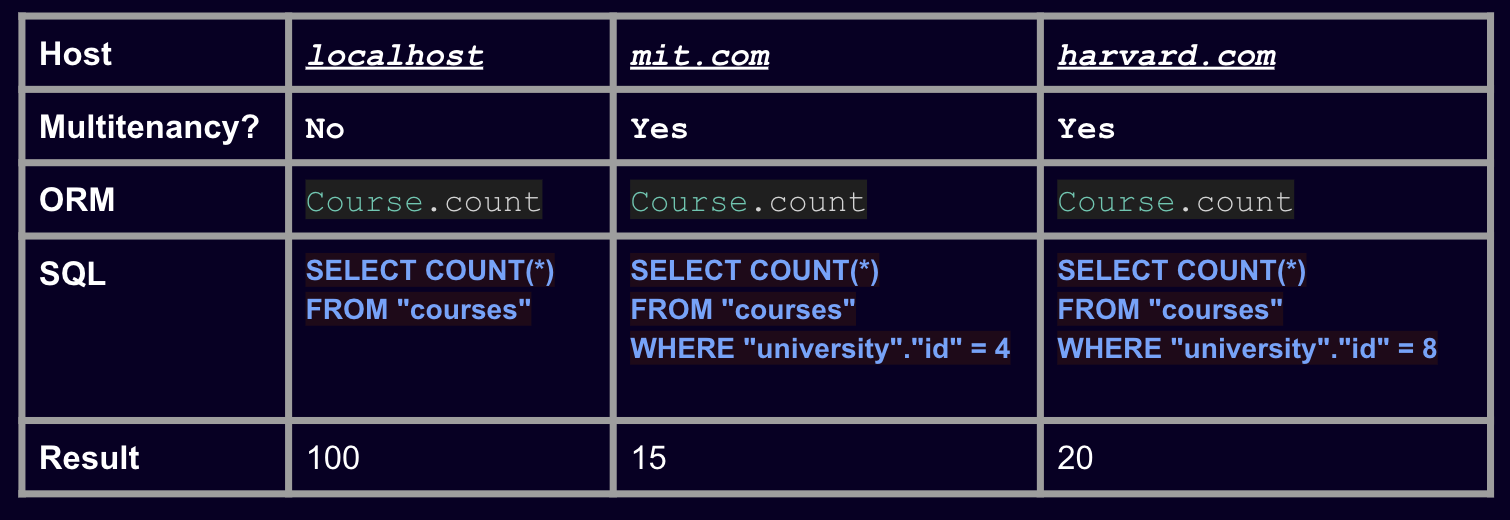
Notice how performing the same action in the ORM (course.count) returns a different result depending on the host of the request. This is because the global scope we created in Step 4 generates slightly different SQL queries depending on this host.
Conclusion
In conclusion, we showed that creating a multitenancy system is not such a scary proposition as it seemed at first. We have also shown that it can be implemented in a scalable, maintainable and performant way.
Of course, if you decide to go for it on a project of your own, you don’t need to follow the exact same steps presented in this post. But we hope they may be of help nonetheless!


